When using the skin for a new site, you need to initialize the theme by following steps.
The preparations before using the skin
Theme Initialization
Step 1. Log in to your site as super administrator.
Step 2. Create a blank page.
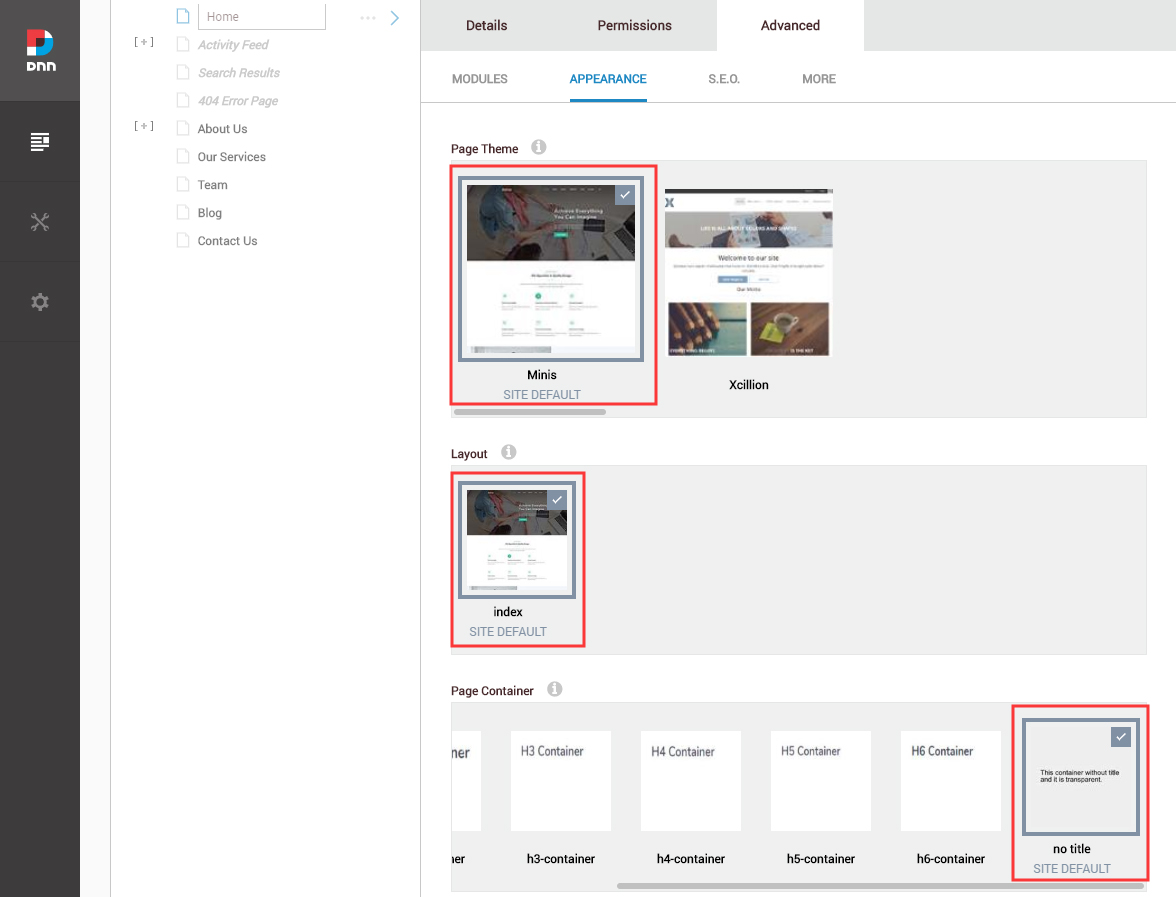
Step 3. Set the theme of the page to be minis, set the Layout to be index, and set the Container to be No Title.
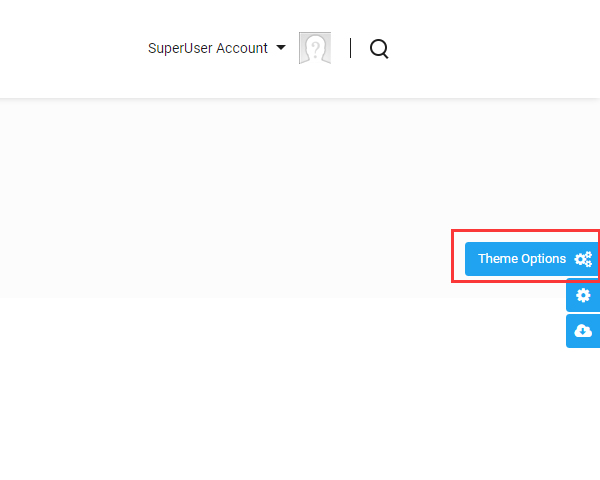
Step 4. Click the Theme Option button on the right of the screen.
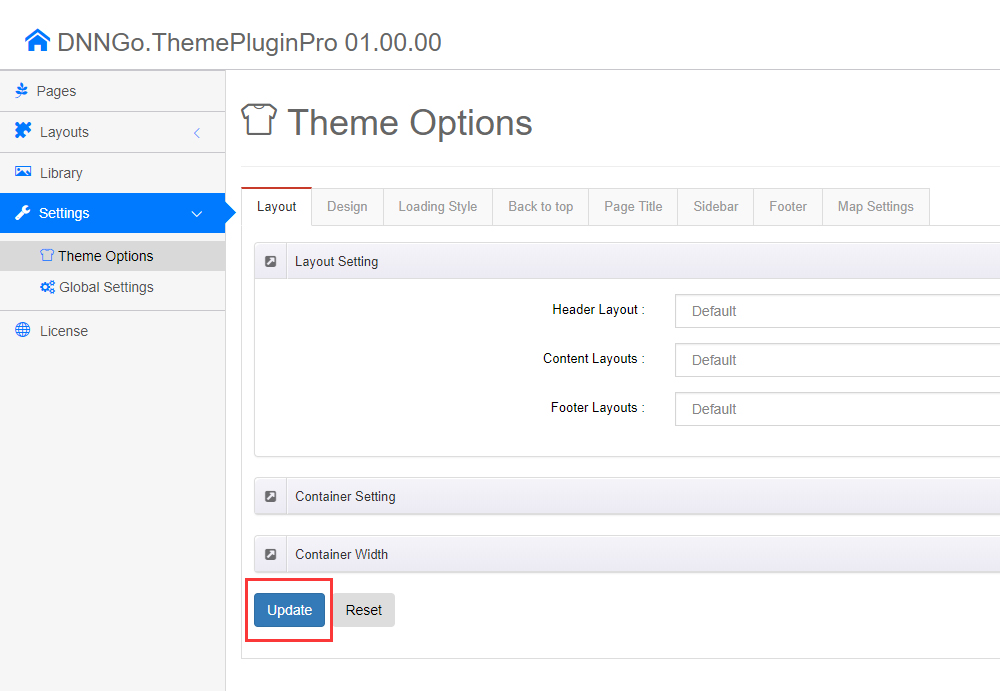
Step 5. Click the Update button once.
Upload Resource Files
There are many resource files and templates included in the Content Builder module, so you need to upload the files via FTP by manual.
You will find the ContentBuilder folder in the purchased product, please upload it to the \Portals\_default\ directory of your site with FTP software. There are many files need to be uploaded, so please wait with patience. Once the upload is done, then you can start to use the Content Builder module.
Change the Settings of HTML Editor
By default, HTML editor will remove the div tags whose content is blank. For example: if we add the code <div class=”pt-20″></div> in HTML editor and click save, you will find the code is missing when you edit it afterwards. So we need to change the settings to prevent this from happening.
Step 1. Log in to your site as super administrator.
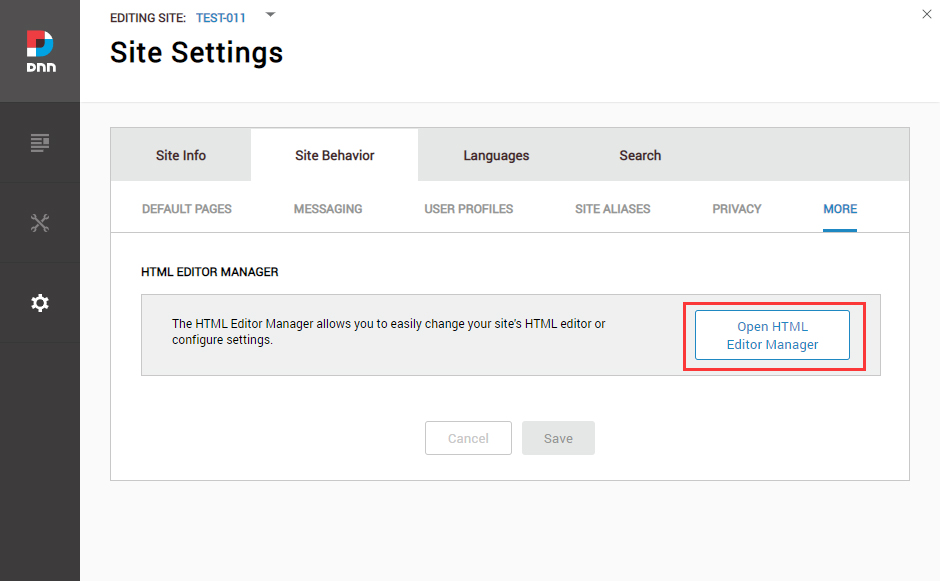
Step 2. Go to SETTINGS > Site Settings > Site Behavior > MORE, click the Open HTML Editor Manager.
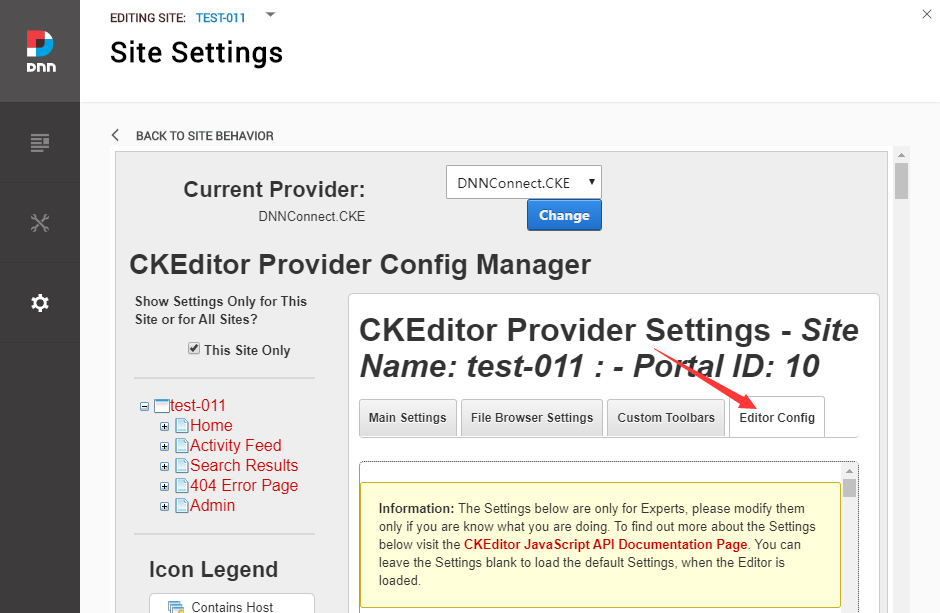
Step 3. Click the Editor Config tab.
Step 4. Set the value of AllowedContent to be true.

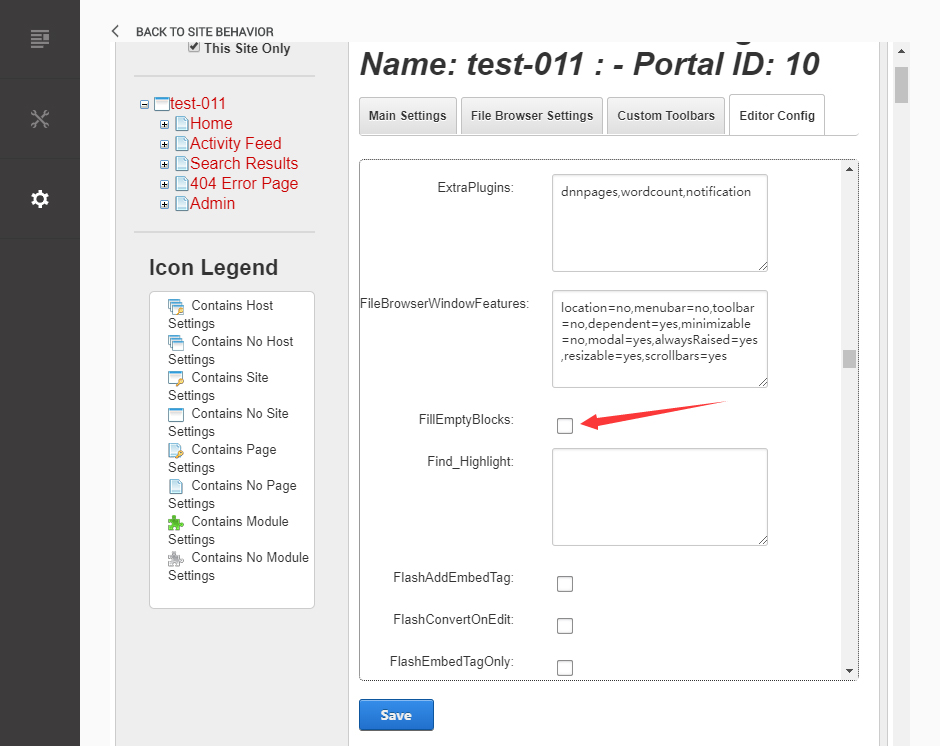
Step 5. Set the value of FillEmptyBlocks to be false.
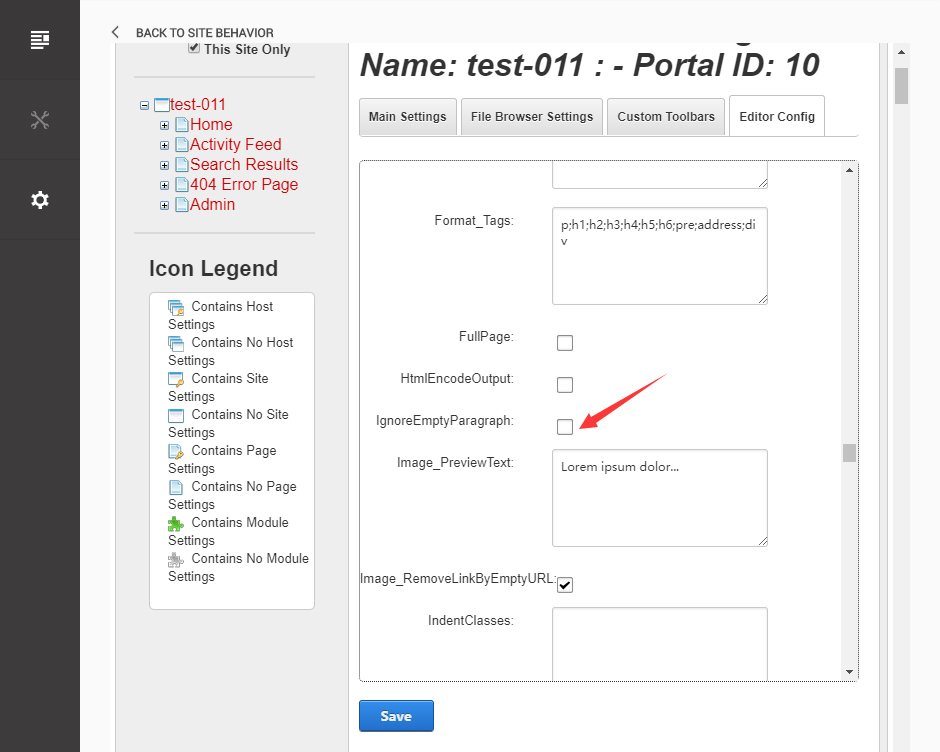
Step 6. Set the value of ignoreEmptyParagraph to be false.
Step 7. Click the Save button.