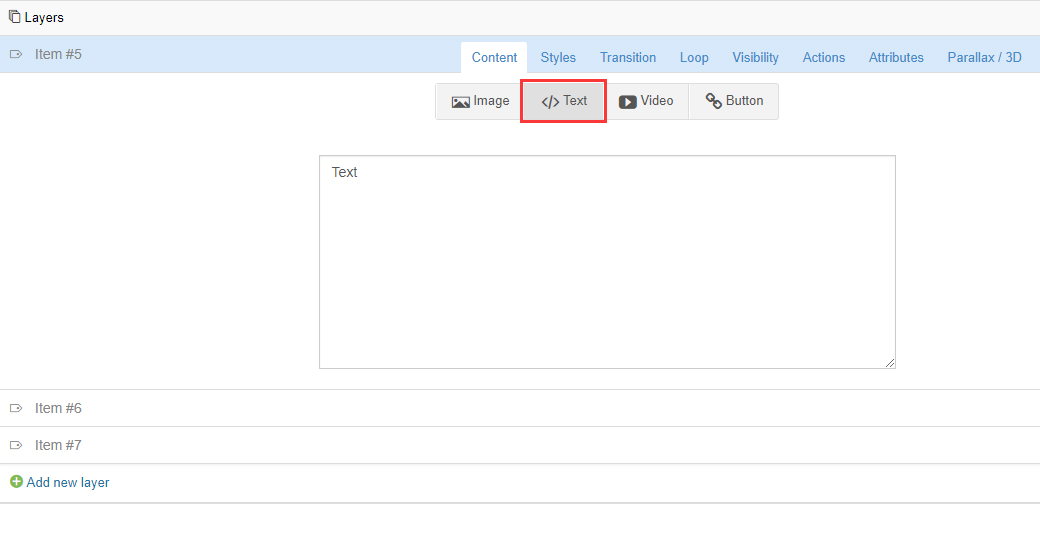
Type in some regular text to be used for the layer’s content.
Slide Layers
Layer Controls
Text
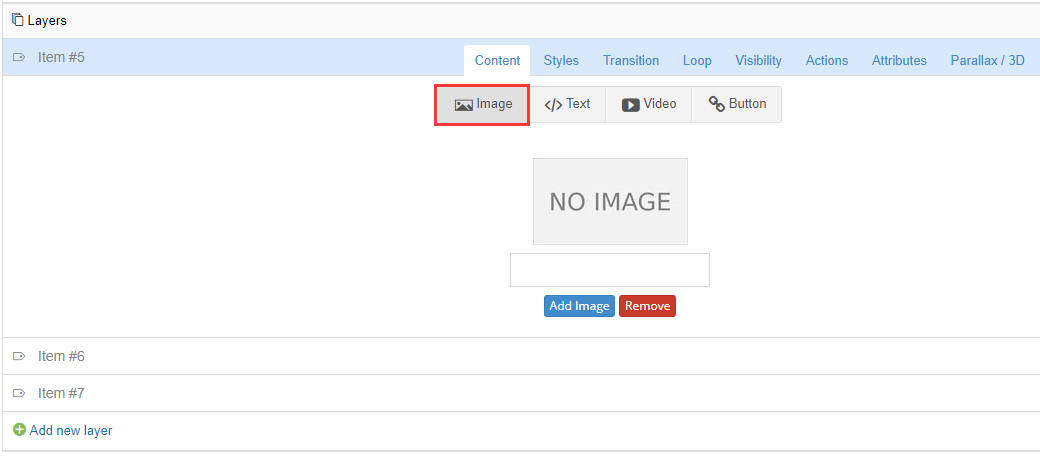
Image
Add an image to be used for the layer’s content.
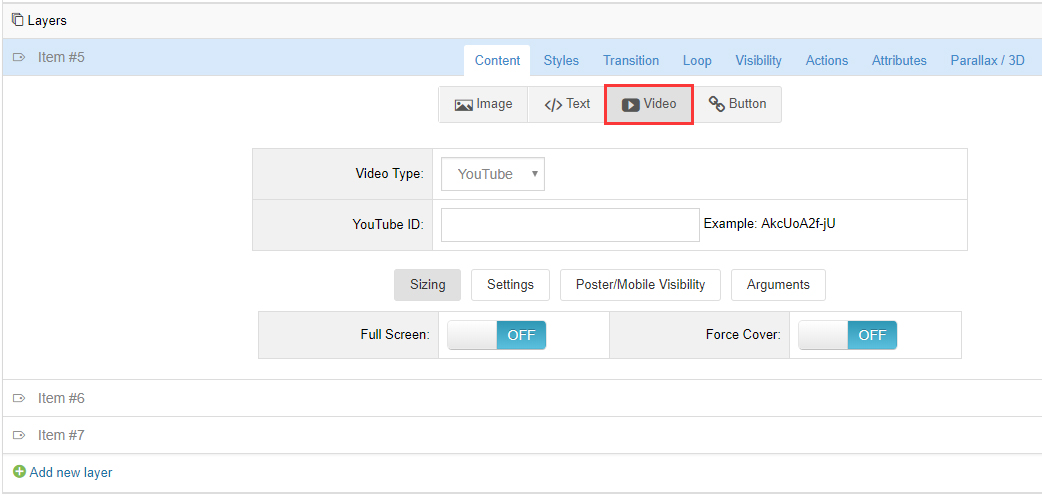
Video
Add a video to be used for the layer’s content. The type of video can be YouTube, Vimeo and HTML5 Video.
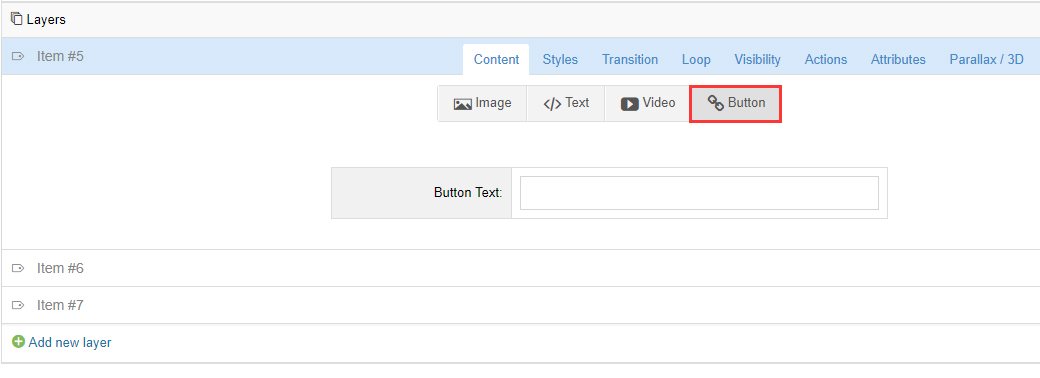
Button
Add a button to be used for the layer’s content.
Layer Styles
Basic Styles, Size & Position
You can set the text color, size and location of layer.
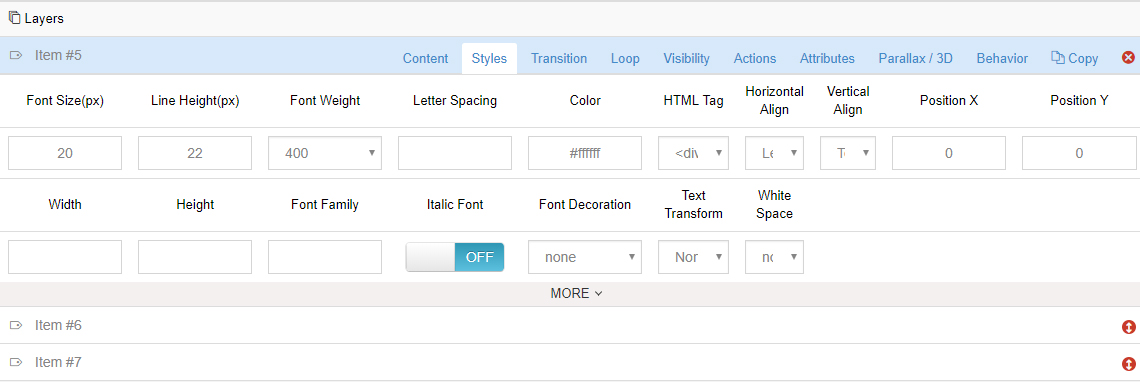
Horizontal / Vertical Align
Alignment can be based on Layers Grid Size or the entire size of the slider, which is set in the layer’s Behavior section.

Horizontal / Vertical Offsets
Offset positions from initial alignments. For example, a “Horizontal Alignment” of “center” with a “Horizontal Offset” of 50px would equal 50px to the left of center.

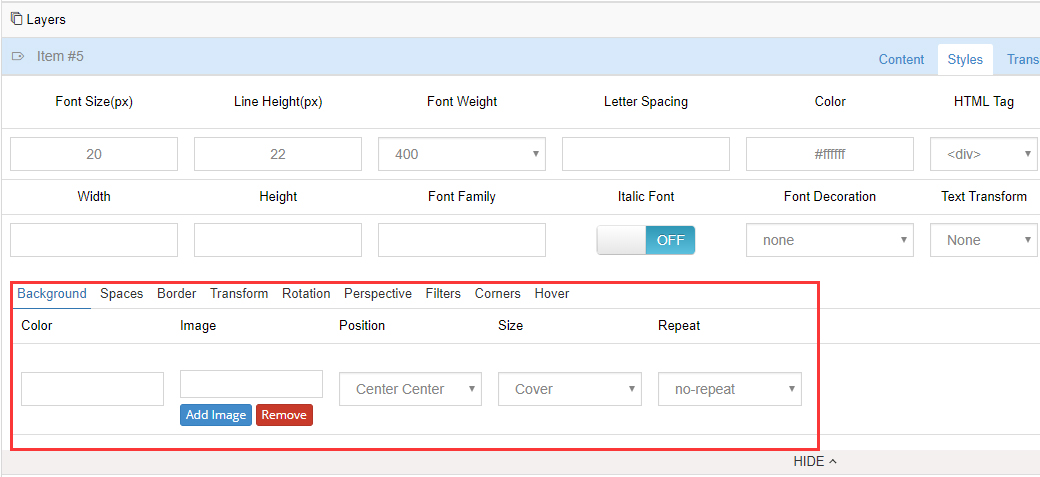
Background / Advanced Styles
Click the “more” button to activate the advanced styling section.
Layer Animations
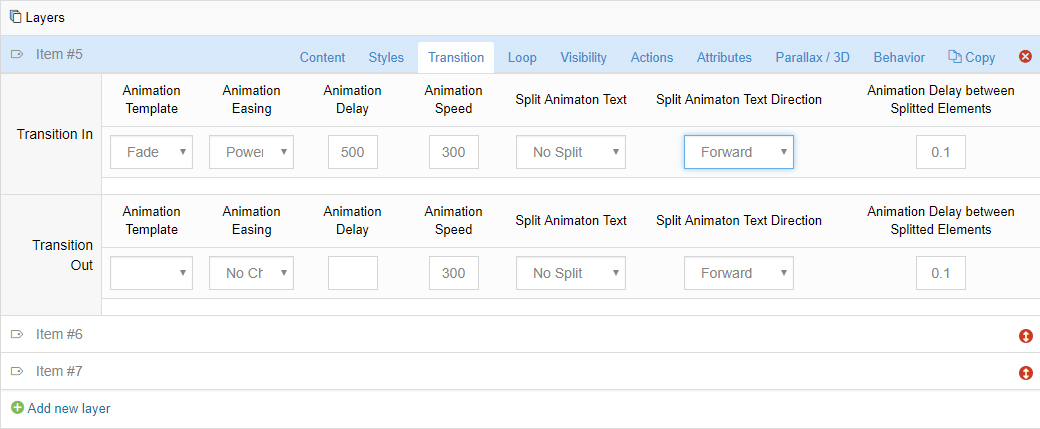
Animation Template
Choose from 30+ prebuilt animations.
Animation Easing
“Easing” is what gives a web animation that “real life” type of movement. Choose between over 35 options to see which one you like best. The most commonly used options are “Power2.easeOut”, and “Power3.easeOut”.
Animation Delay
The time when the Layer will begin to animate into view.
Animation Speed
How long the animation will last from start to finish in milliseconds (1000 = 1 second).
An optimal number will depend on your chosen animation. For example, when using a simple “Fade”, a number between 300-500 is usually best, but for more complex animations (especially when using an “easeInOut” easing), a higher number such as 500-1000 will work well.
Animate by Words, Letters or Lines
For text-based layers, you can animate words, letters or lines one by one with this option.
Choose “No Split” to just animate the entire layer at once.
Split Animation Direction
Choose which direction to animate your splitted words/letters/lines. Options are “forward”, “backward”, “middle to edge” and “edge to middle” or “random”.
Split Animation Delay
When animating by words, letters or lines, the essence of the effect is that each will animate one after the other. The delay value here is the amount of time that will be used for this sequenced animation.
The delay value is in milliseconds. A number between 5-30 usually works best.
Loop Animations
Apply continuous, animated movement to the layer even after it’s initially animated into view.

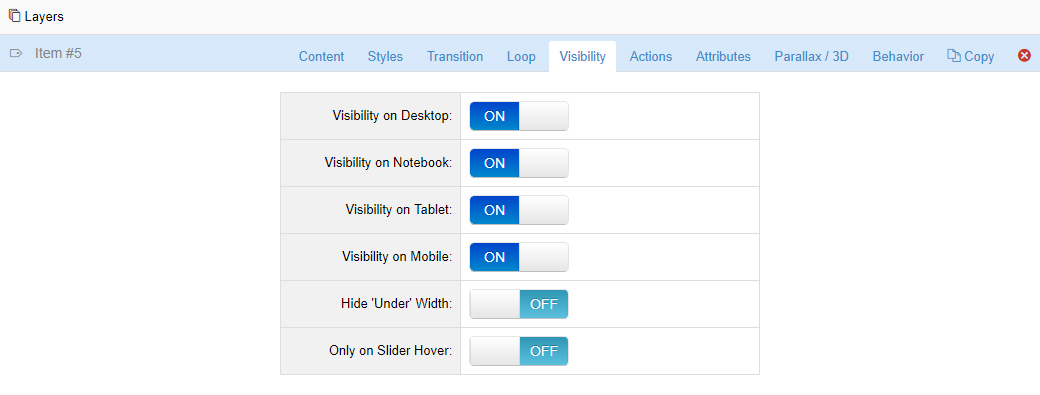
Layer Mobile/Device Visibility
Choose when the layer should be visible such as per device, above a certain screen width, or on mouse hover.
Actions
An “Action” is essentially something that happens when the user interacts with the Layer’s content (clicking the layer, or mouse hovers).

Attributes
Layer attributes can help with adding advanced Custom CSS for a specific Layer, and are also useful for enhancing accessibility. For example, a custom class could be added to a Layer, and then some CSS could be applied to the Layer

Parallax / 3D
Apply a “Parallax Level” (1-10) or “3D Depth” to the layer.

Behavior
Auto Responsive
Choose to make the layer responsive by default (layer will resize when slider resizes).
Child Elements Responsive
If the layer contains additional content, the slider will attempt to resize all nested elements.
Boxed (Grid Based)
Layer will always be aligned and positioned based on the slider’s grid size
Slide Based (full-width)
Alignment and positioning of Layers will always be based on the slider’s actual size

