Module Installation
This page explains how to install the DNNGo DNNGalleryPro module on your DNN site.
System Requirements
Before using DNNGalleryPro, make sure your environment meets the following requirements:
- DNN platform: DNN 9.5.0 or higher (minimum requirement since 07.03.00)
- Server permissions: SuperUser (host) permissions
- Browsers: Modern browsers such as Chrome, Firefox, Safari and Edge
Older versions
Earlier versions (06.x and below) support DNN 8.0+. If your site still runs DNN 8, upgrade DNN first or contact [email protected] for a matching historical package.
Installation Steps
Step 1: Log in to your site
Log in to your DNN site with a superuser (Host) account.
Step 2: Open Extension Management
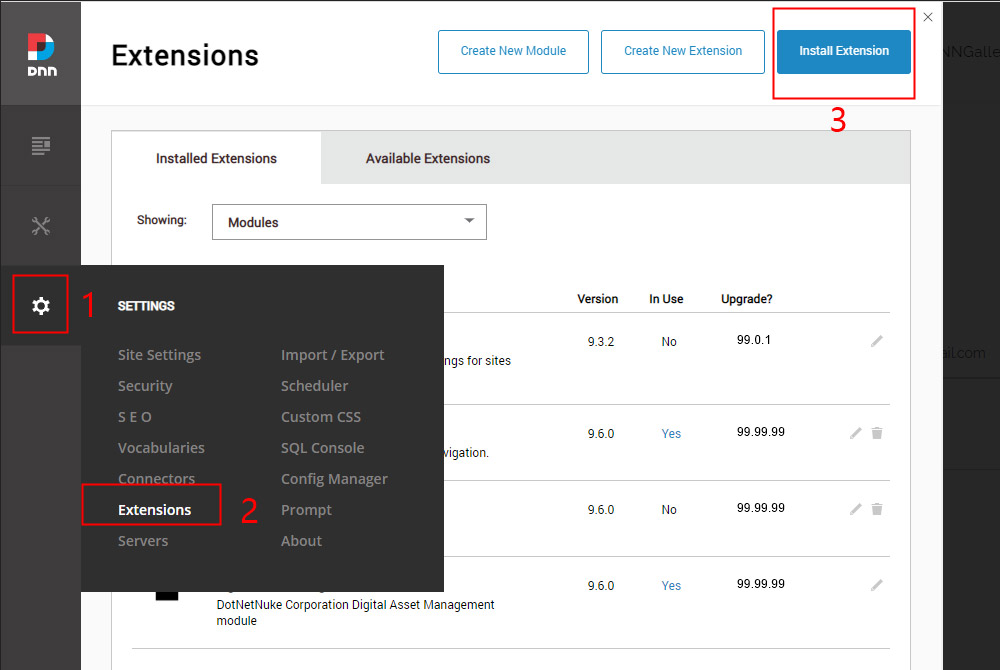
Navigate to Host → Extensions.
Step 3: Install the module package
- Click Install Extension Wizard, then click Choose File to select a file.
- Locate the install package
DNNGo_DNNGalleryPro_x.x.x_Release_Install.zip. - Click Next and follow the wizard to complete the upload and installation.
After installation, DNNGo DNNGalleryPro appears in the extensions list.
Add the Module to a Page
- Log in to the site as an administrator.
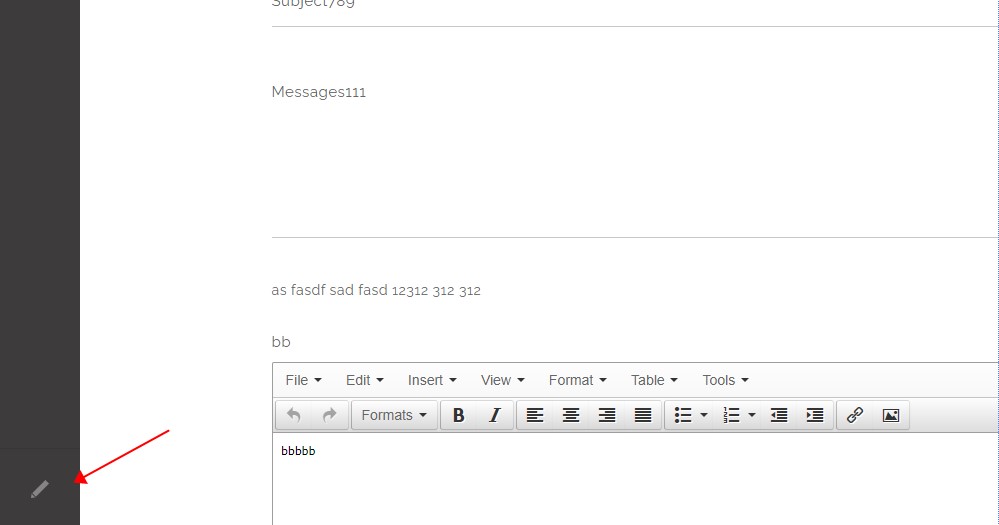
- Click the edit icon in the bottom-left corner of the page to enter edit mode.
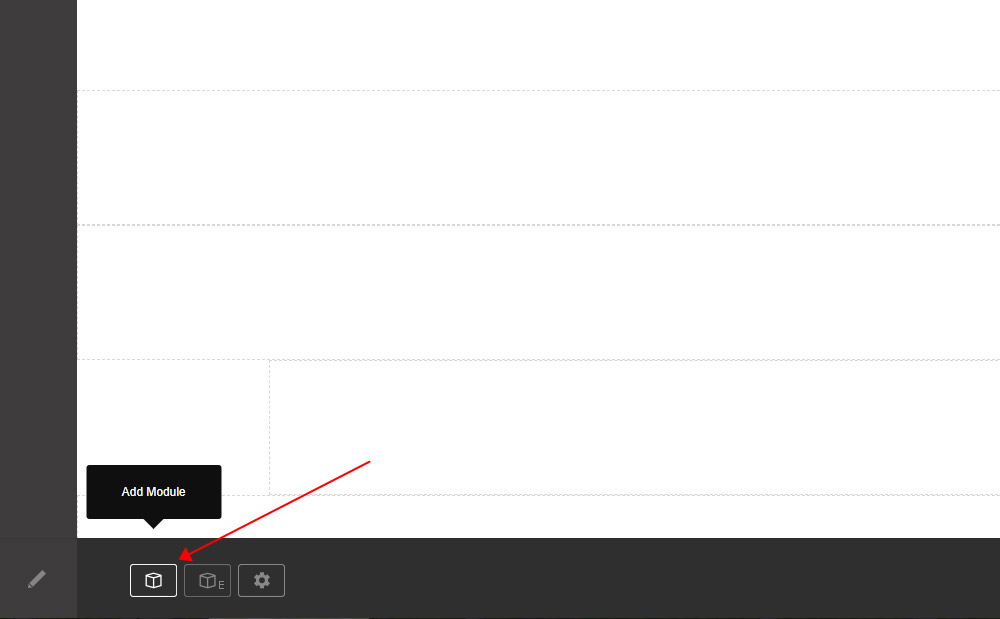
- Click the Add Module button.
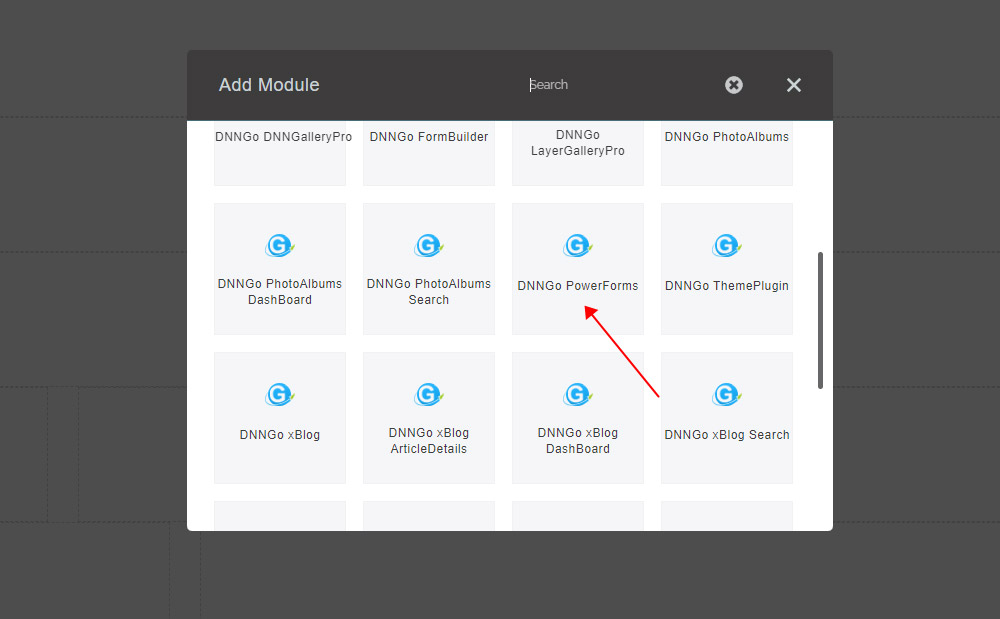
- Find DNNGo DNNGalleryPro in the module list.
- Drag the module onto the target pane.
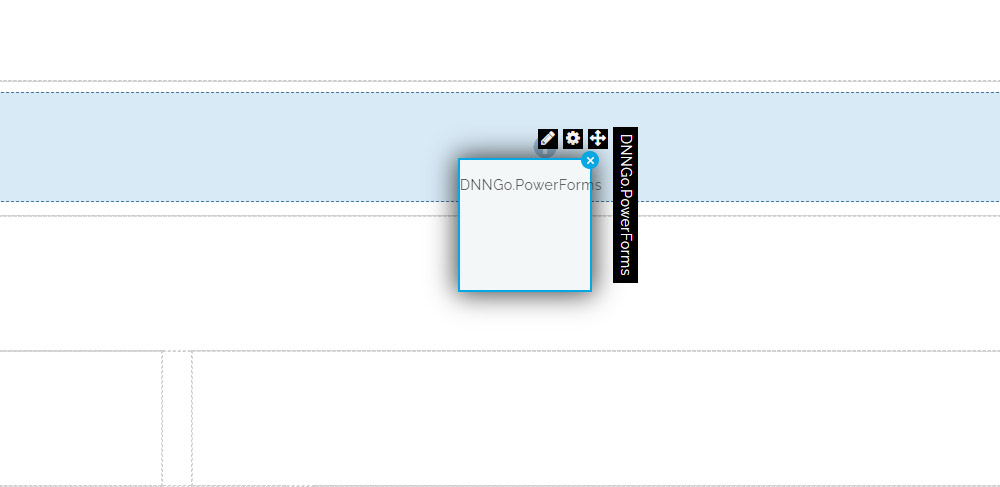
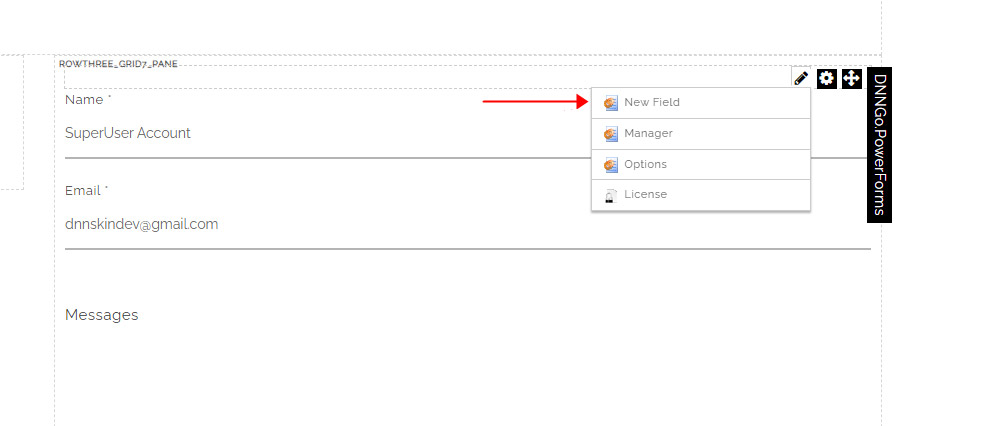
- Once added, click the module's top-right menu to open the management area.
Management Area Overview
After adding the module, open the management area via the module's dropdown menu (or the pencil icon → Manage Gallery). The left navigation has five sections:
| Menu | Description |
|---|---|
| Gallery → All Sliders | Item list (the title varies by effect, e.g. All Sliders); manage your items |
| Gallery → Add New | Add a new display item |
| Gallery → Import&Export | Import and export items |
| Library | Media library for images and files |
| Effects → Options | Theme and parameters of the current effect |
| Effects → Effect List | Choose a display effect |
| Effects → Style | Custom CSS for the current effect |
| General → General | Module settings (data source sharing, data filter) |
| License | View license status and activate |
TIP
For first use, pick an effect in Effects → Effect List first, then add data in Gallery → Add New — the data form adapts to the selected effect automatically.
Upgrading from an Older Version
Simply install the new package over the old one via Host → Extensions → Install Extension Wizard — data, effect settings and the media library are preserved. We recommend backing up your data via Import & Export before upgrading.
Next Steps
- Activating the License — activate your license to unlock all features
- Effect Overview — explore the 24 built-in effects
- Adding Items — learn how to add content for an effect