
How to Use the WebP Image Format
What is the WebP image format?
WebP is an image format that supports both lossy and lossless compression. It was developed by Google and derived from the WebM video format. Compared with JPEG and PNG images, WebP can reduce file size by up to 34% while maintaining high quality, effectively speeding up page loading.
Steps to Use WebP in the Minis Theme
To enable your site to upload and display WebP images, you must first register the WebP MIME type on the server. This can be done in either of the following ways.
Method 1: Configure via web.config
- Go to the site's root directory via FTP.
- Back up the
web.configfile. - Edit
web.configand add the following code inside the<staticContent></staticContent>node:
xml
<remove fileExtension=".webp" />
<mimeMap fileExtension=".webp" mimeType="image/webp" />- Refresh the site. If the site reports an error, restore
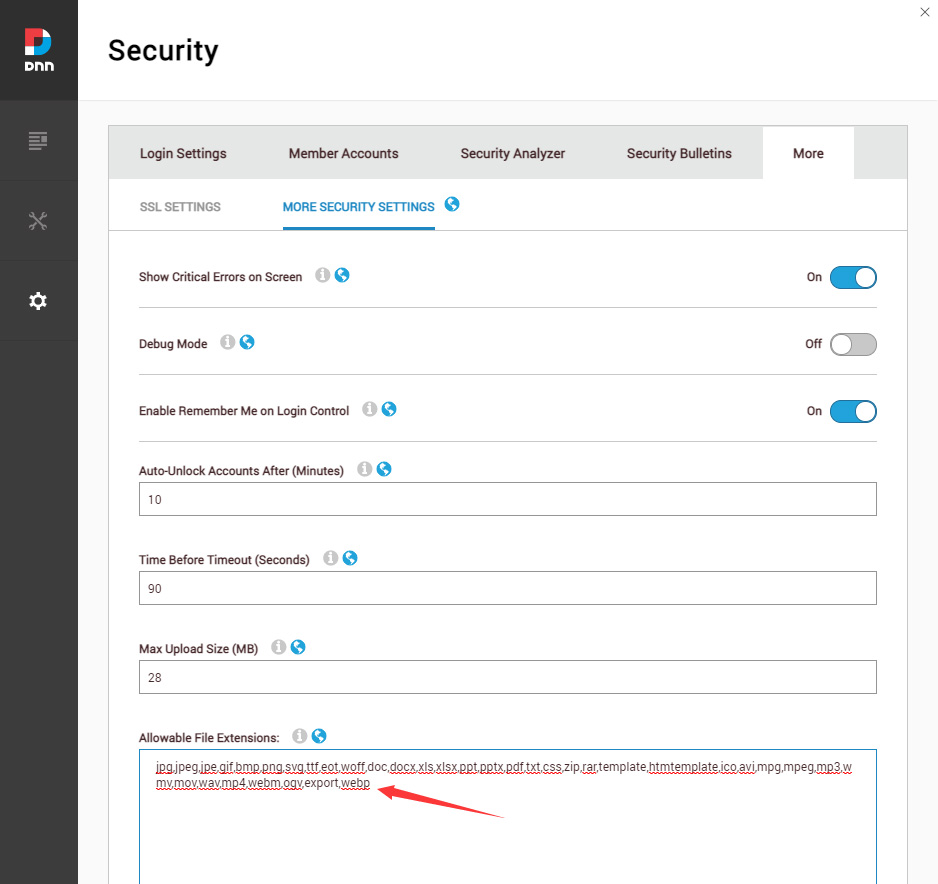
web.configfrom the backup file created in step 2. - Log in to the site as a superuser, go to Settings > Security, and add
webpto Allowable File Extensions.
Method 2: Configure via IIS Manager
- Open IIS Manager and locate the site you want to manage.
- In Features View, double-click MIME Types.
- In the Actions panel, click Add.
- In the Add MIME Type dialog box, enter
webpas the File name extension. - Enter
image/webpas the MIME type. - Log in to the site as a superuser, go to Settings > Security, and add
webpto Allowable File Extensions.
Convert JPG/PNG to WebP
You can use cloudconvert.com to convert JPG/PNG images to WebP format online.
After completing the above configuration, you can upload and use WebP images on your site just like any other image format.