
Installation
This guide describes how to install the Kella theme and its modules on a DNN site. The full process has 6 steps: adjust the upload limit → install the theme and modules → apply the theme → set the Site Theme → set the container → initialize the theme and upload resources.
Requirements
To use skins and modules, you must be running DNN 9.8.0 or higher.
You must have a working version of DotNetNuke already installed. If you need help installing DotNetNuke, follow the instructions in the DNN Documentation Center.
Installation Steps
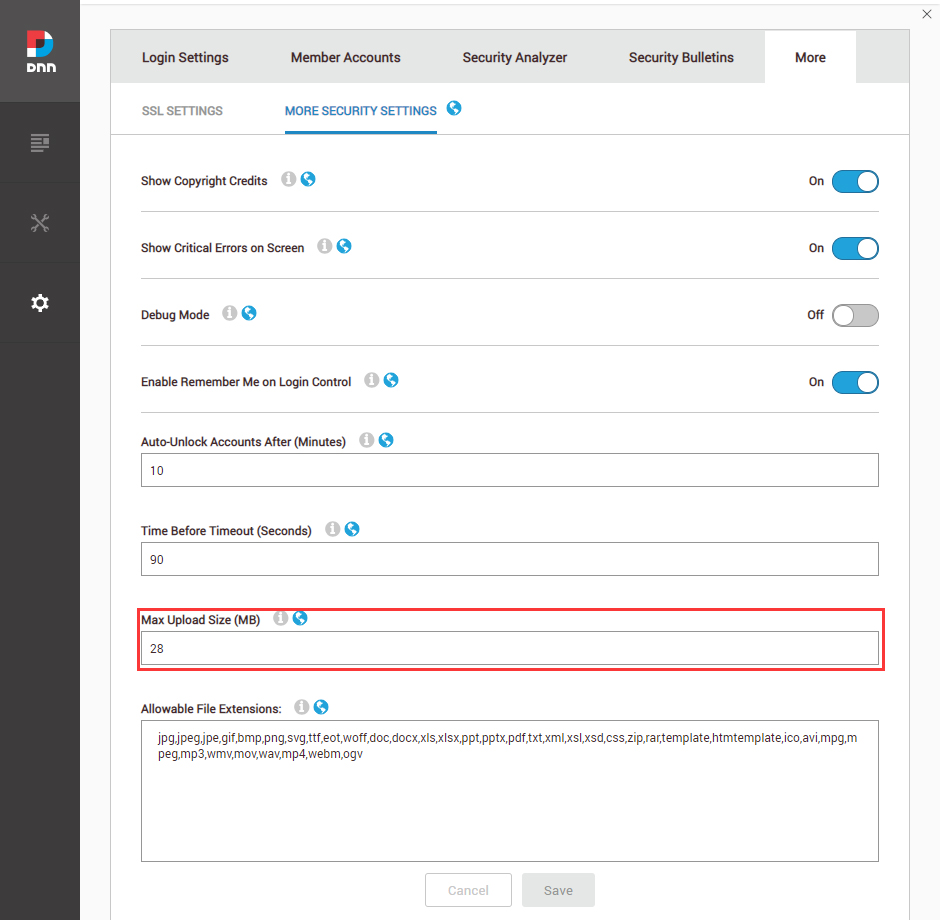
1. Adjust the Upload Size Limit
- Log in to your site as super administrator
- Go to Settings > Security > More
- Select the MORE SECURITY SETTINGS tab
- Change Max Upload Size to 28 (MB) or higher
2. Install the Theme and Modules
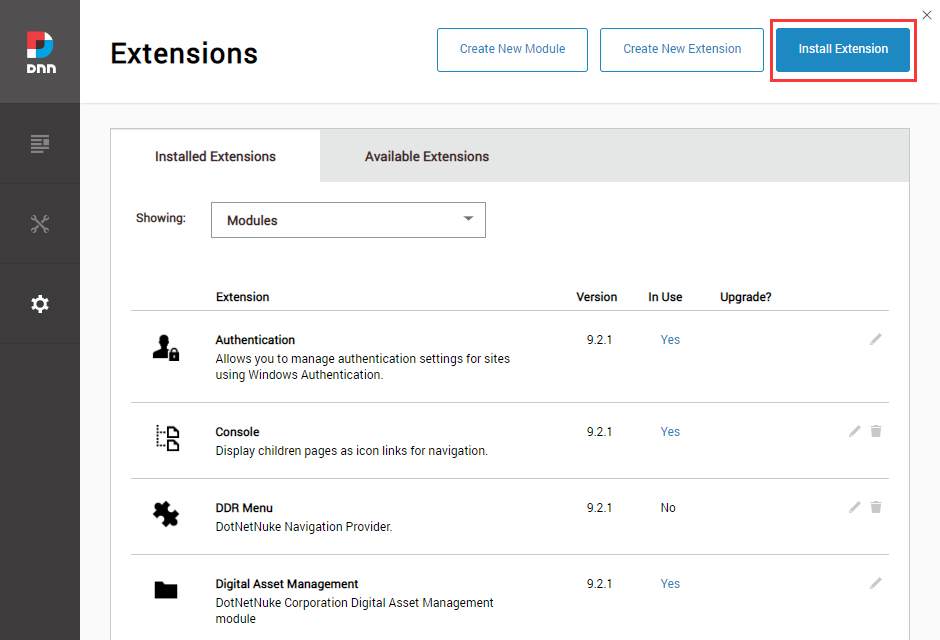
Go to Host > Extensions > Install Extension wizard and install:
kella-theme_x.x.x_PA.zip(the theme)DNNGo_ThemePluginPro_x.x.x_PA.zip(the core module)- Any other modules included in the package (as needed)
3. Apply the Theme
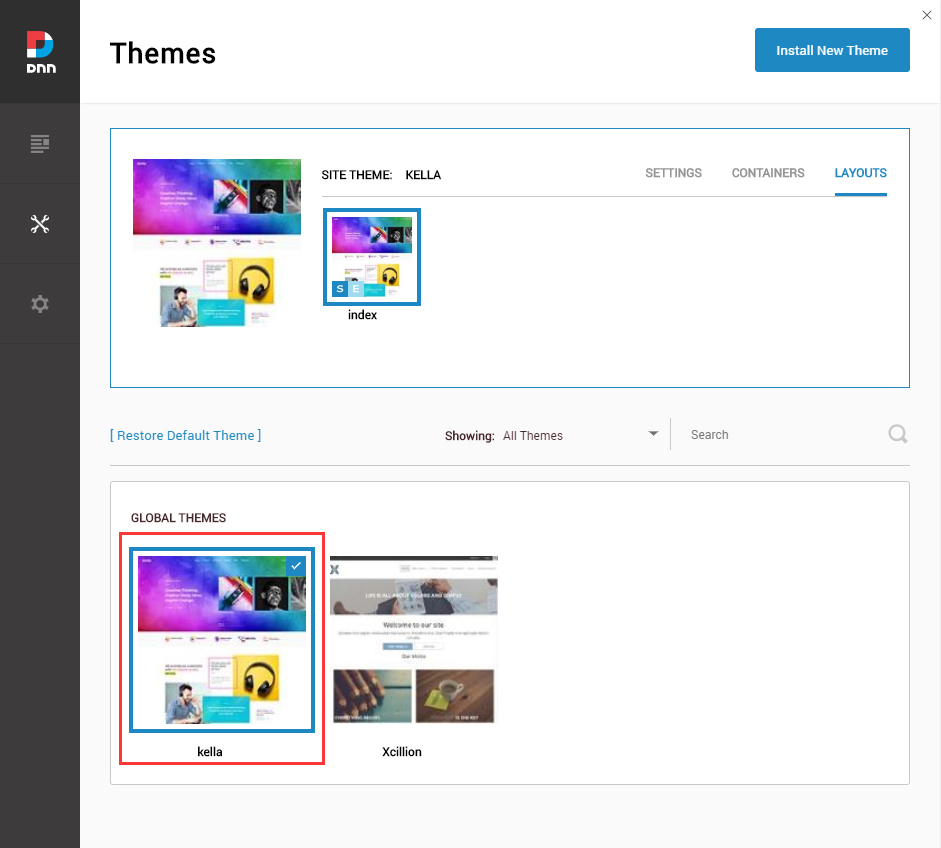
- Navigate to Manage > Themes
- Select and apply kella
4. Set Site Theme and Edit Theme
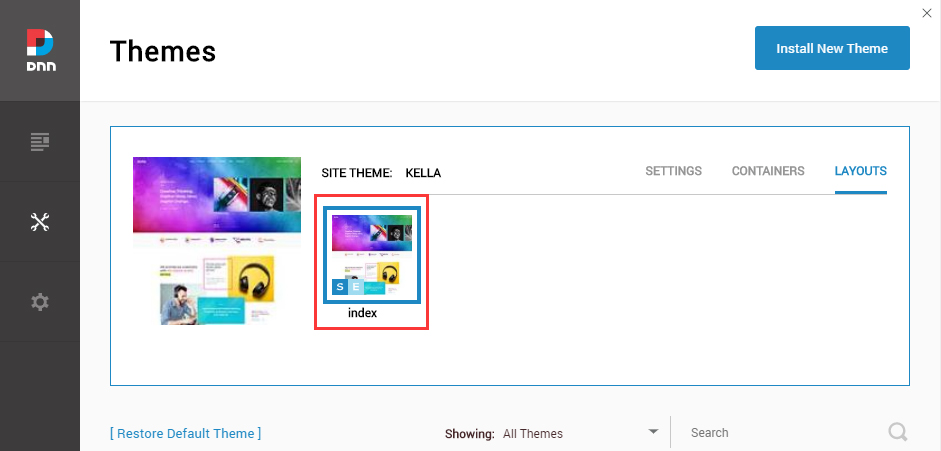
Specify Site Theme and Edit Theme to be kella – index.
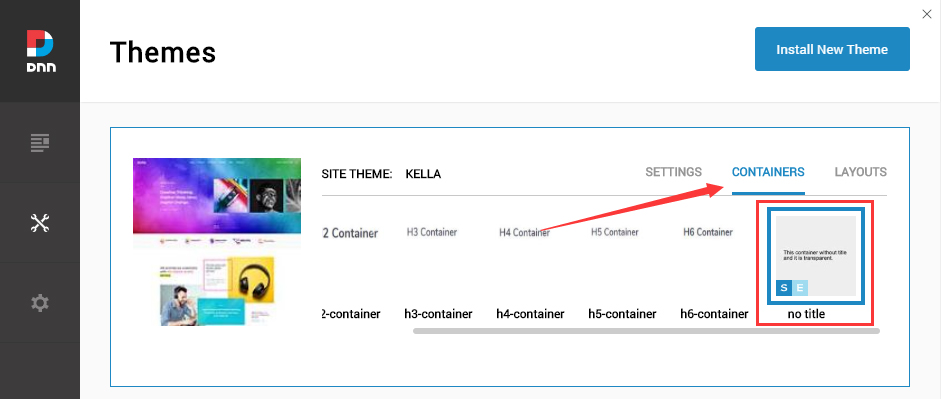
5. Set Site Container and Edit Container
Specify Site Container and Edit Container to be kella – No Title.
6. Initialize and Upload Resources
After installing the theme, two more tasks are required:
- Initialize the theme — required once for every new site
- Upload the ContentBuilder resource files — via FTP to the
Portals/_defaultdirectory
Support
If you run into problems during installation, please contact: [email protected]