
How to Set Up Forms
The theme includes many form styles — subscription forms, contact forms, and more. A form consists of two parts: the front-end display, added to the page through the Content Builder module, and the back-end data, configured in the Form Builder module.
PowerForms is legacy
Glend versions before 3.0 used the PowerForms module. Version 3.0 and later (including all current 4.x releases) use Form Builder — this page covers Form Builder.
Front-end display
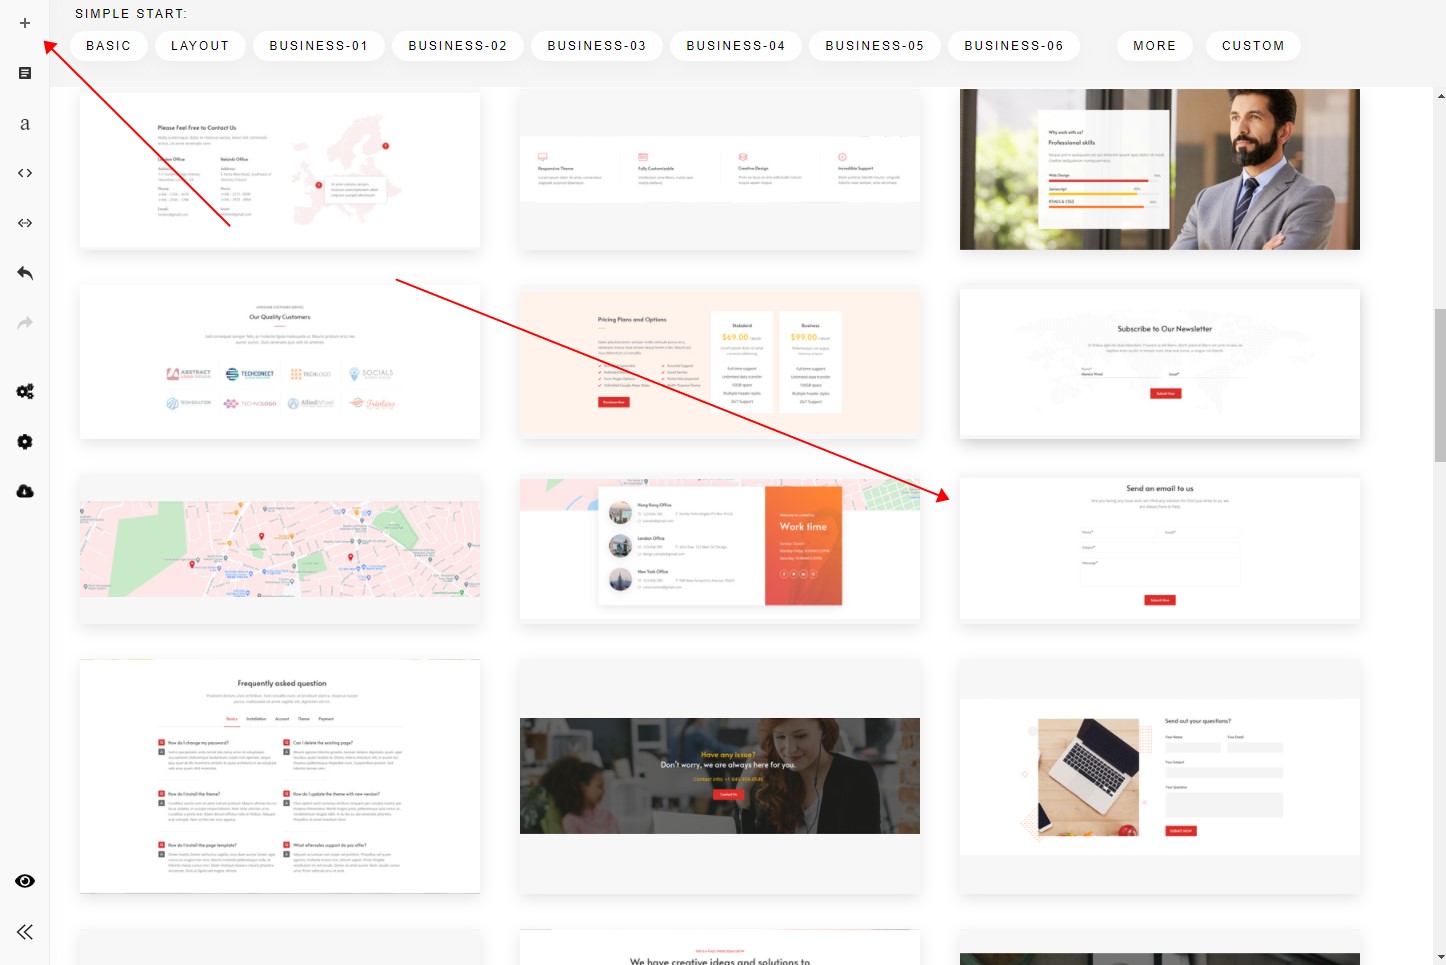
First, add a section with a form to your page through Content Builder.
The form will not appear once placed — click the Settings button and assign it a data source first.
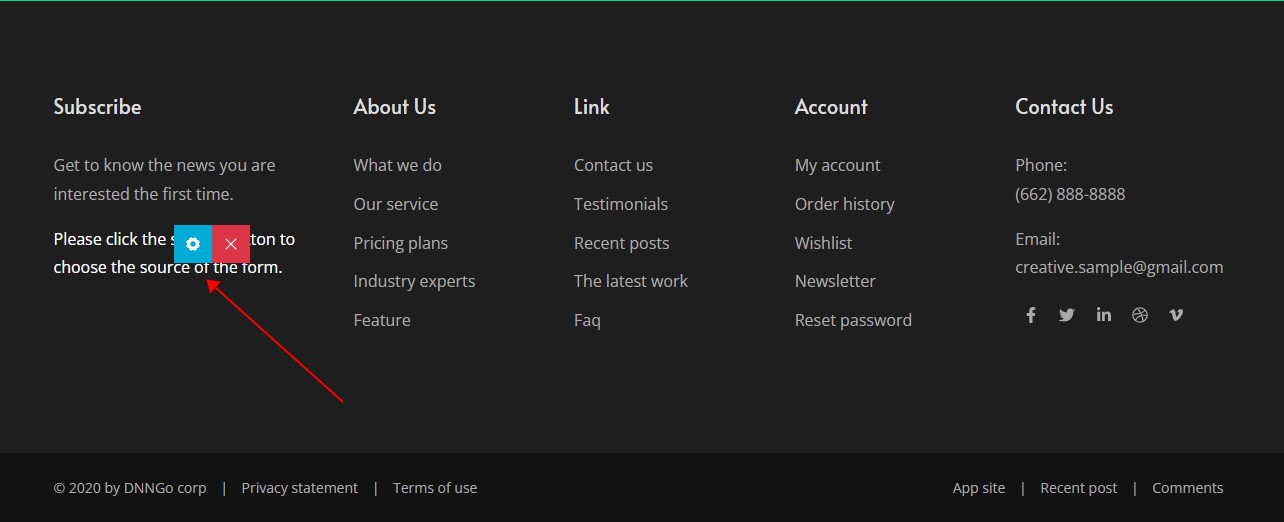
The Source list shows every form module in the site. Pick one and save, and the form appears.
Full walkthrough
Add a Form to a Page covers the complete flow with screenshots; for importing the preset forms, see Import Preset Forms.
Field widths and submission history
- Field width: each field's width can be set in the form editor. A width of 100 gives the field a row of its own; two fields with widths of 50 share one row side by side.
- Submissions: entries submitted by users can be reviewed in the form management back end (History Records).
For details on field types, validation rules, and more, see the Form Builder documentation.
Set up the SMTP server
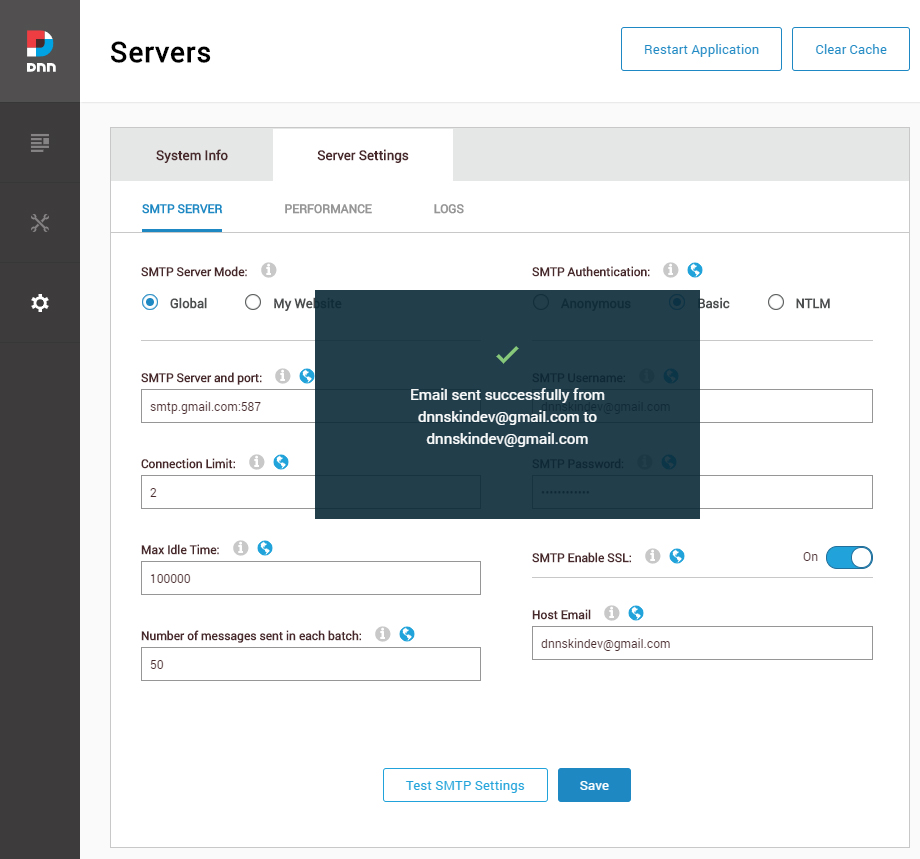
The SMTP server must be configured correctly, or neither users nor admins will receive form notification emails.
- Log in as a superuser and go to Settings > Servers > Server Settings > SMTP Server.
- Enter the SMTP server information correctly (get it from your email provider).
- Click Test SMTP Settings to verify that the server works.
Further Reading
- Form Builder Introduction — module overview and full documentation
- Import Preset Forms — 38 preset forms, one click to import
- Support: [email protected] or the support form