
Preparations
Before you start building pages, complete the following three setup tasks: initialize the theme, upload the resource files, and adjust the HTML editor settings.
Initialize the Theme
When using the theme on a new site, initialize the theme first with these steps:
- Log in to your site as a superuser
- Create a blank page
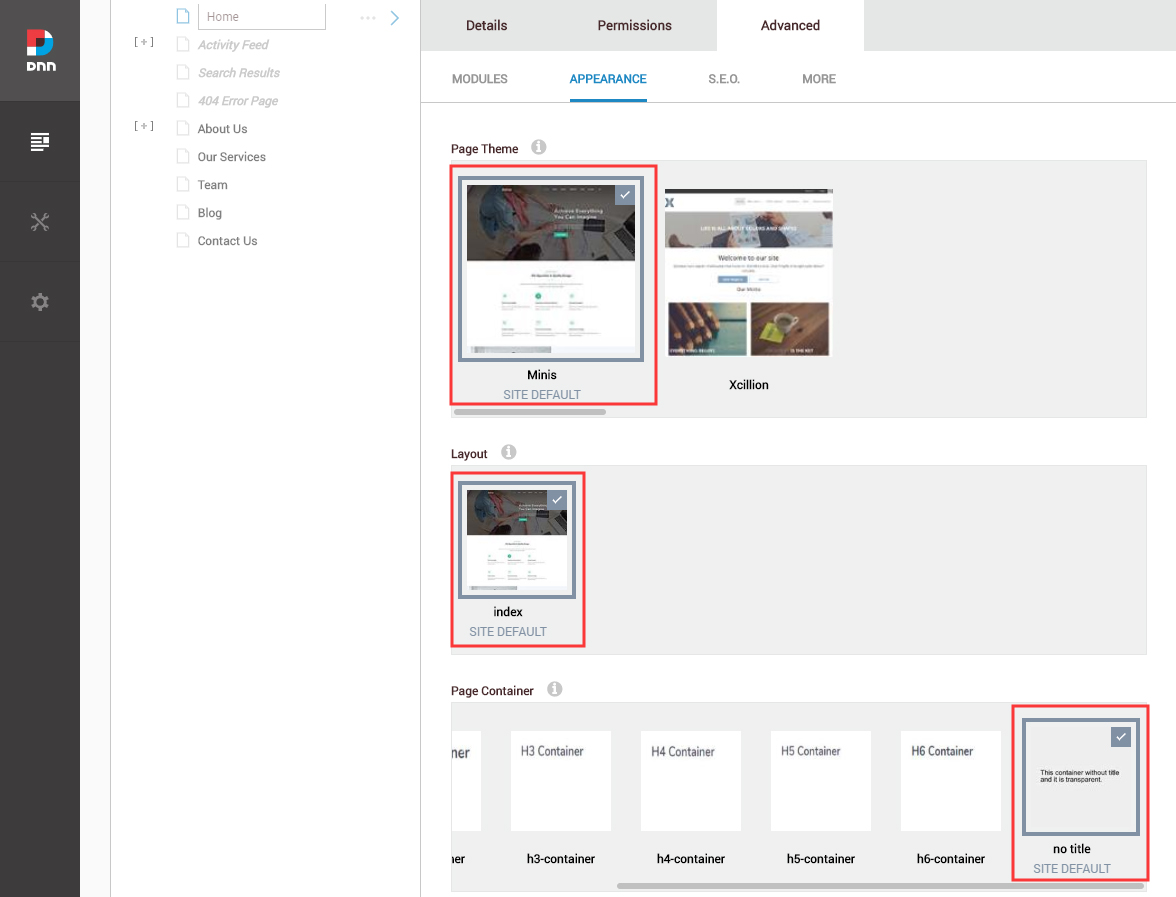
- Set the page's Theme to minis, Layout to index, and Container to No Title
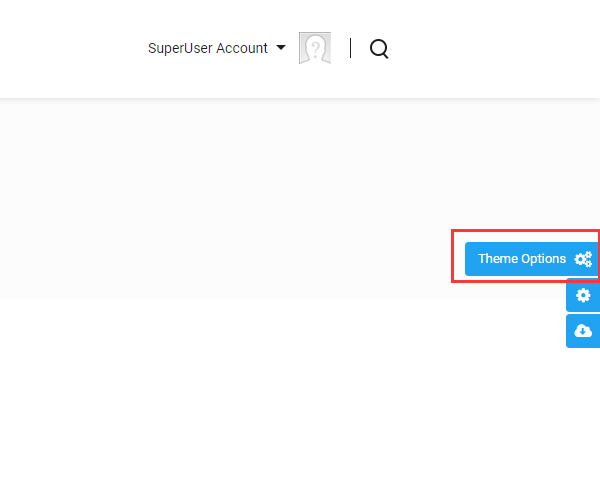
- Click the Theme Options button on the right side of the screen
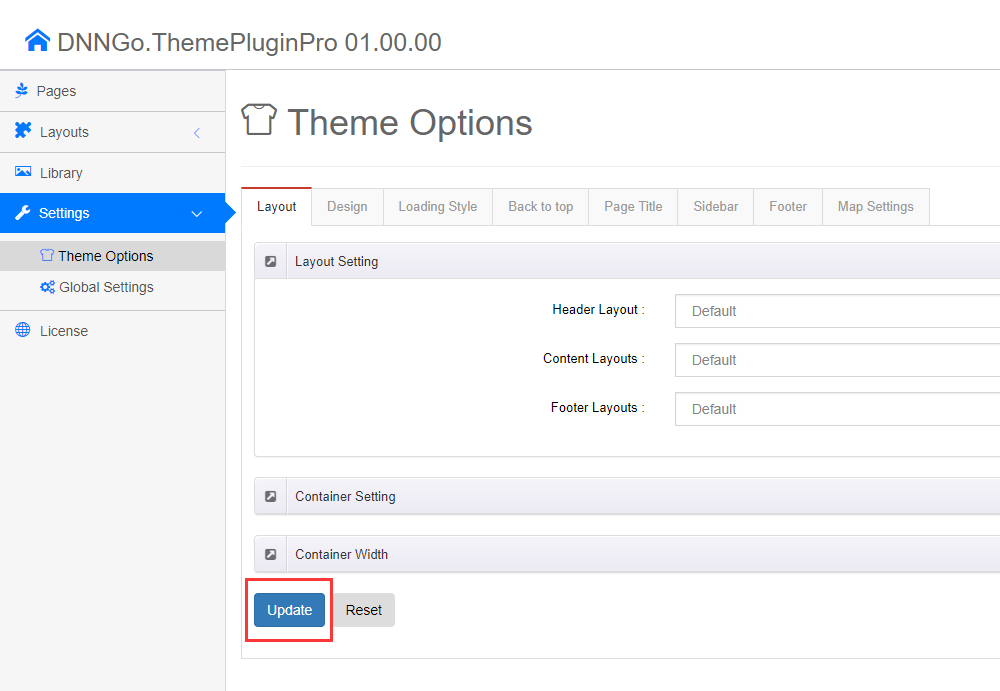
- Click the Update button once to complete the initialization
Upload Resource Files
The Content Builder module comes with a large number of resource files and preset templates that must be uploaded manually via FTP:
- Locate the ContentBuilder folder in the download package
- Use FTP software to upload it to the
Portals/_defaultdirectory of your site
There are many files, so the upload takes some time — please be patient. Once the upload is complete, the Content Builder module is ready to use.
Adjust the HTML Editor Settings
By default, the DNN HTML editor strips empty div tags. For example, if you add <div class="pt-20"></div> in the HTML editor and save, you will find this code stripped when you edit again. Many of the theme's preset styles (such as spacing) rely on such empty divs, so you need to change the editor settings to avoid this problem:
- Log in to your site as a superuser
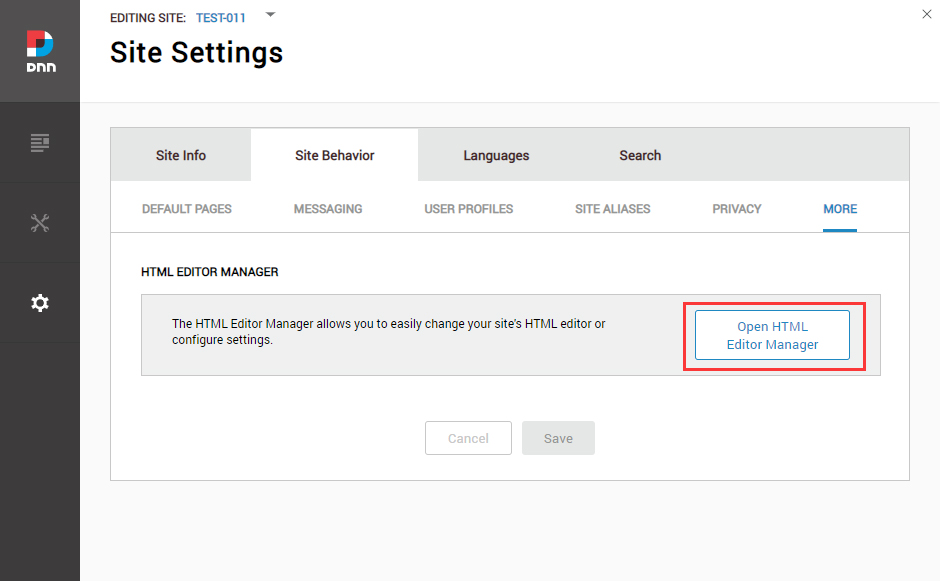
- Go to SETTINGS > Site Settings > Site Behavior > MORE and click Open HTML Editor Manager
- Click the Editor Config tab
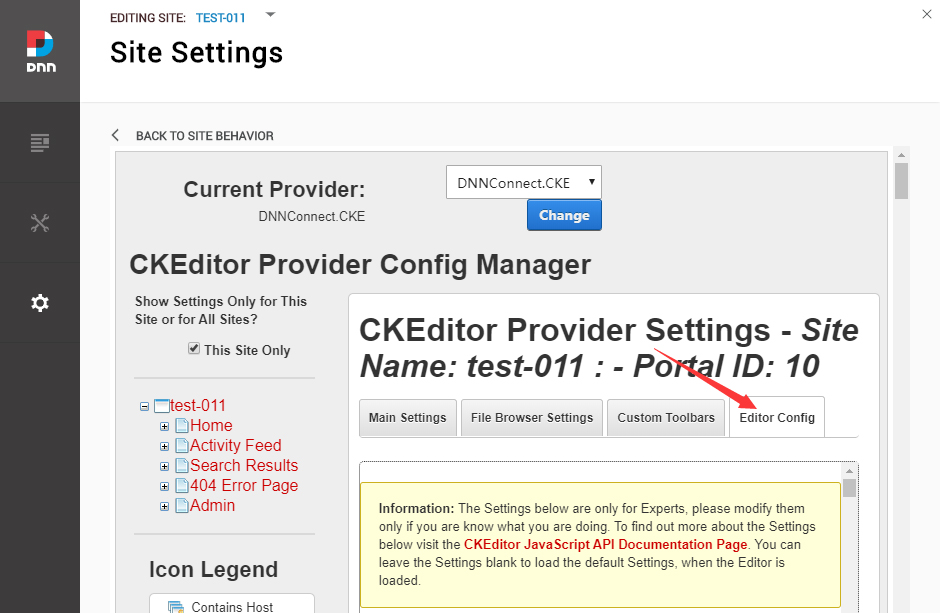
- Set the value of AllowedContent to
true
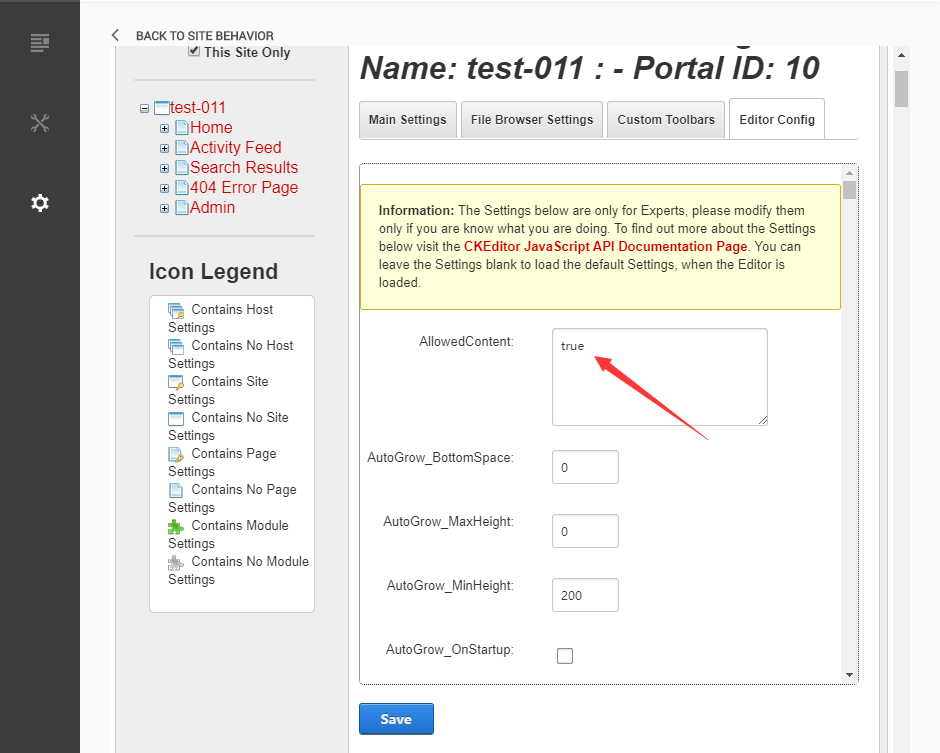
- Set the value of FillEmptyBlocks to
false
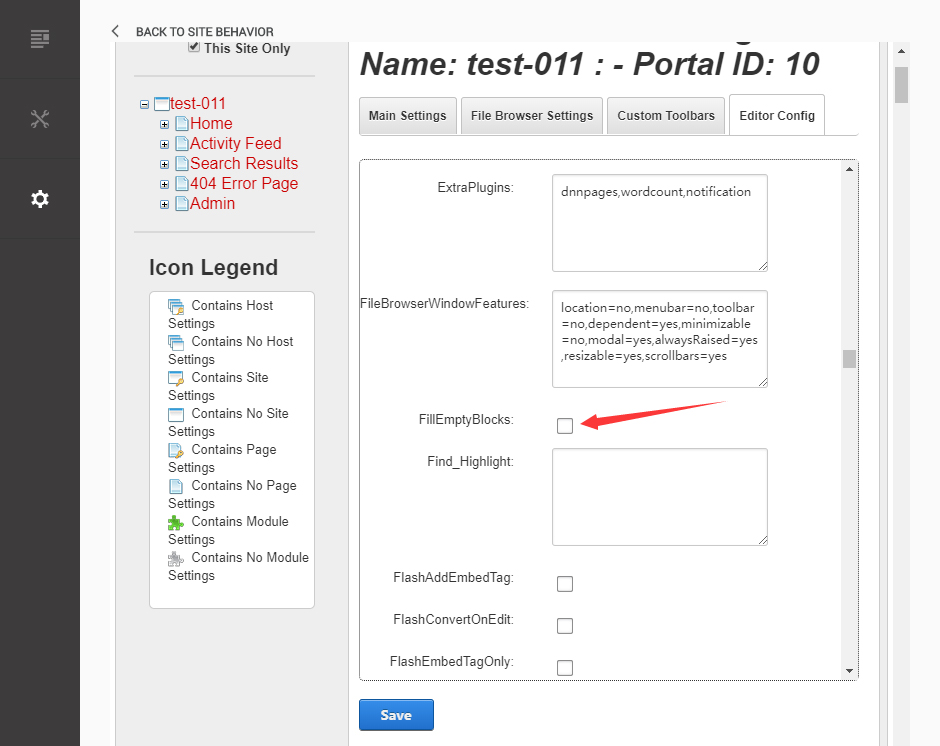
- Set the value of ignoreEmptyParagraph to
false
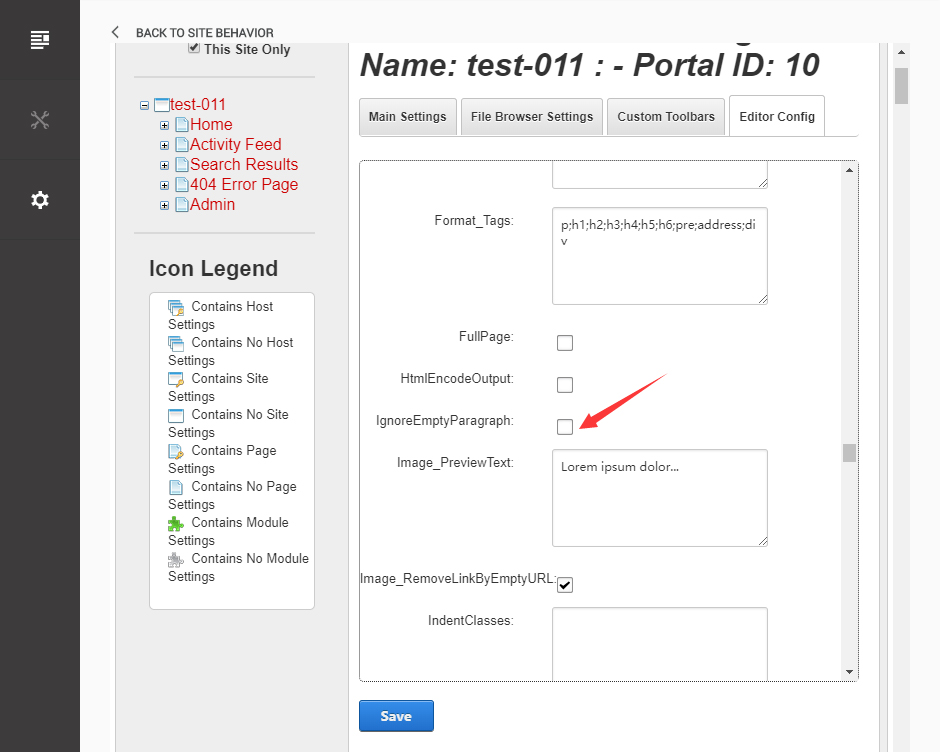
- Click Save
Next Steps
- Introduction to Content Builder — Learn about the visual page editor
- Import Page Templates — Reuse demo site pages with one click