Add New Event
The Add New Event page is where you create and edit events — the most frequently used feature of xEvent. Open it via Events → Add New in the admin area.
The left side holds the main content (title, summary, body); the right side groups the remaining settings into panels, introduced below in interface order.
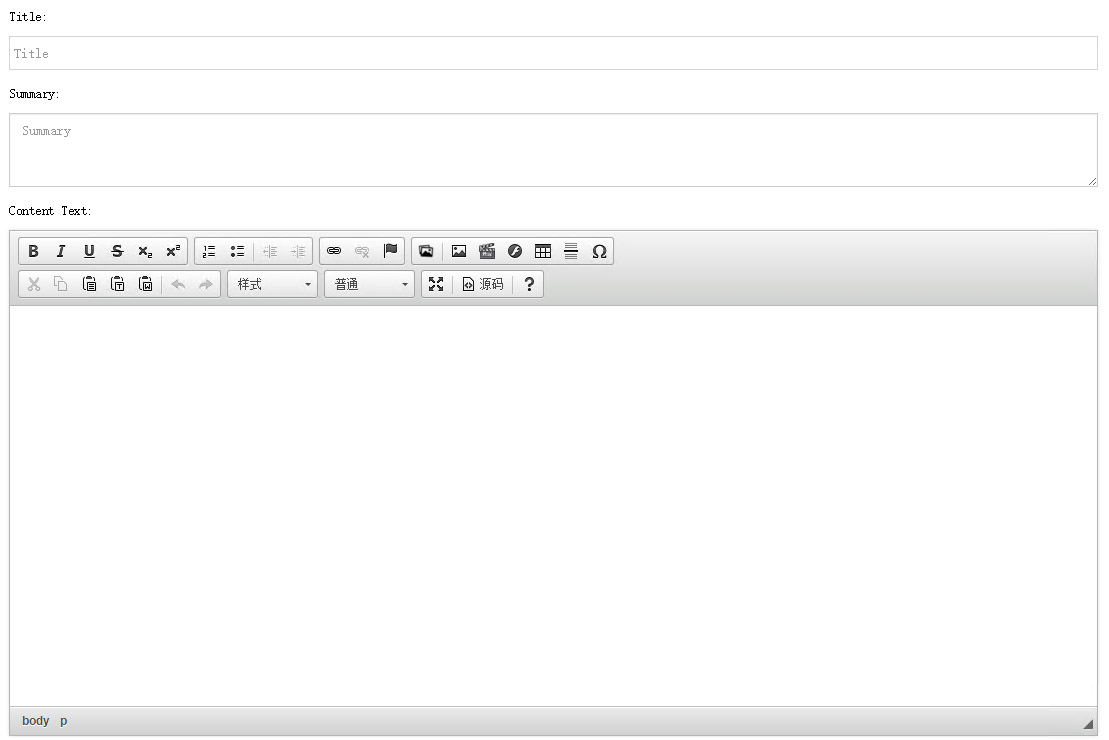
Basic Information
| Field | Description |
|---|---|
| Title | Event title, required, up to 500 characters |
| Summary | Event summary, up to 2000 characters; shown in the summary area of list skins |
| Content Text | Rich text editor (CKEditor) with style, format and source modes; images, tables and more can be inserted. Required |
Location Settings
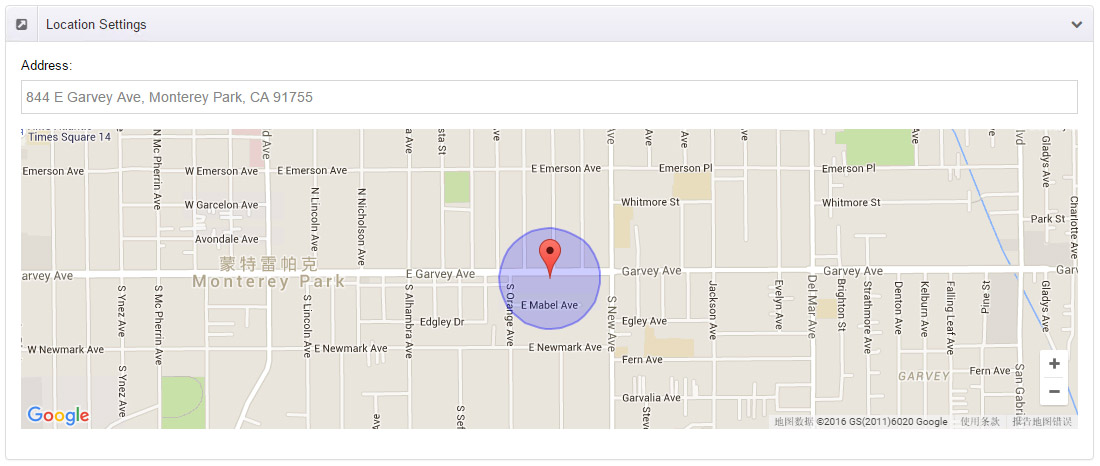
The Address dropdown lists all venues from the Address Book (displayed as "Name: Full address") — just search and select.
After selecting an address, an embedded Google map preview (with map/satellite toggle) appears below the panel so you can confirm the venue visually.
Rating
Set the initial rating of the event:
- Total rating
- Rating number (number of votes)
The rating is displayed on the event detail page; visitor votes are added to these statistics. See Rating Settings.

Registration Settings
Control registration for this event with three options:
| Option | Description |
|---|---|
| Inherit | Follow the global module setting (default, see Registration Settings) |
| Enabled | Force registration on for this event |
| Disabled | Force registration off for this event |
Sitemap Settings
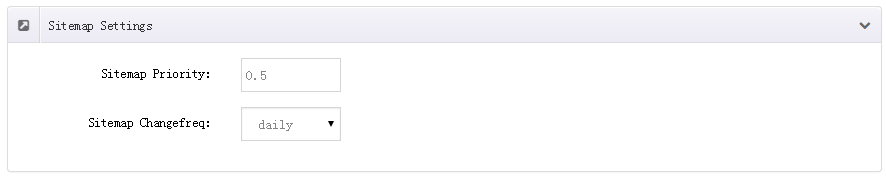
Per-event sitemap parameters, reflected in the sitemap URL provided by the General Settings:
- Sitemap Priority: the priority.
- Sitemap Changefreq: change frequency — always / hourly / daily / weekly / monthly / yearly.
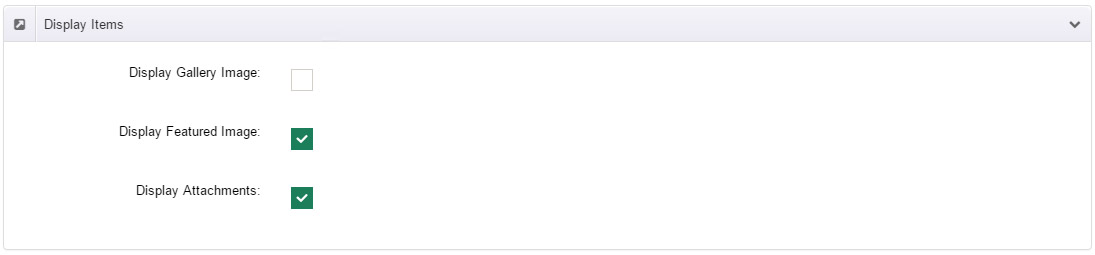
Display Items
Three switches control what is displayed on the event detail page:
- Display Gallery Image
- Display Featured Image
- Display Attachments
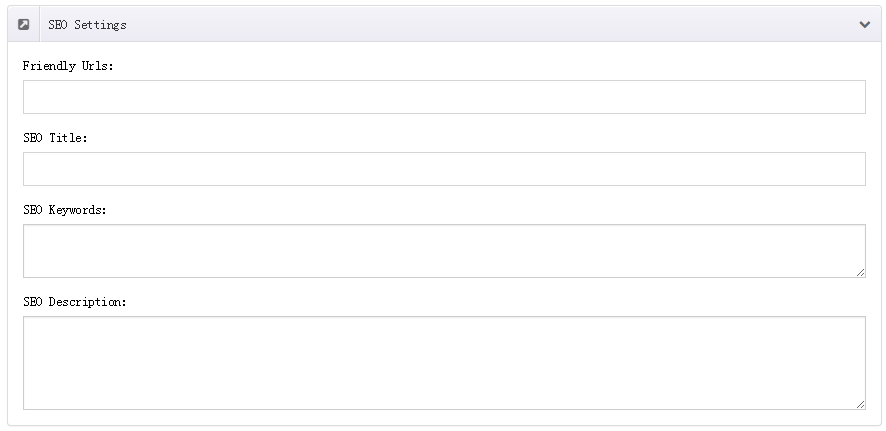
SEO Settings
| Field | Description |
|---|---|
| Friendly Urls | Custom URL for the event detail page; only characters allowed by URL rules can be used |
| SEO Title | Page title; generated automatically by built-in rules when left empty |
| SEO Keywords | Meta keywords |
| SEO Description | Meta description |
| HTML Page Header Tags | Custom tags (e.g. META tags) rendered in the HTML <head> of the page |
Publish
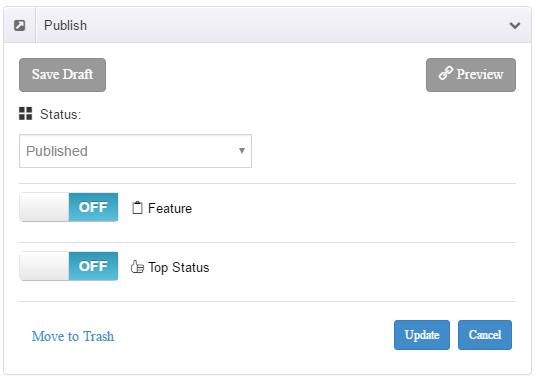
- Preview: preview the event on the front end.
- Status: the event status — administrators can choose from five options:
| Status | Description |
|---|---|
| Published | Live and visible on the front end |
| Draft | Visible only in the admin area |
| Pending | Awaiting administrator review before publishing |
| Locked | Suspended from the front end |
| Recycle | Moved to the recycle bin |
- Feature: an ON/OFF switch; featured events can be filtered exclusively by list skin options.
Status options for authors
Regular authors can only choose Published or Draft; all statuses are available to administrators. If "Review new event" is enabled in the General Settings, events submitted by authors enter Pending status and the review result is notified by email.
Time & Date
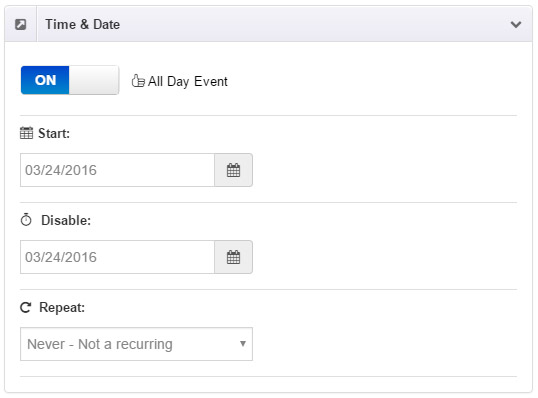
All Day Event: ON/OFF switch; when enabled, the hour, minute and second options are disabled.
Start: date + time picker.
Disable: the end date and time of the event; leave empty for no end time.
Repeat: recurrence rule, with the options:
- Never - Not a recurring (default)
- Every day
- Every week
- Every 2 weeks
- Every month
- Every year
- More options (advanced rules such as the Nth weekday of a month or specific months)
See Recurring Events for details.
End repeat: by date or by count; choose by count and fill in the number in End RepeatCount.
Set additional dates: append extra occurrences beyond the recurrence rule.
Set excluded dates: exclude specific occurrences from the recurrence rule.
Number of registrations:
- Unlimited (default)
- Customize a seat limit; registration closes automatically when full
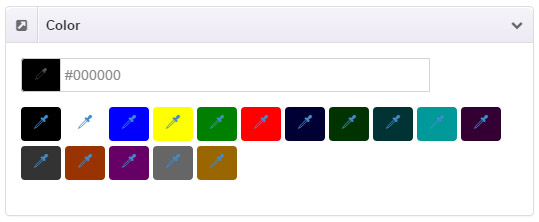
Color
Open the color picker via Customize to tag the event with a color, which distinguishes events in the calendar skin.
Categories
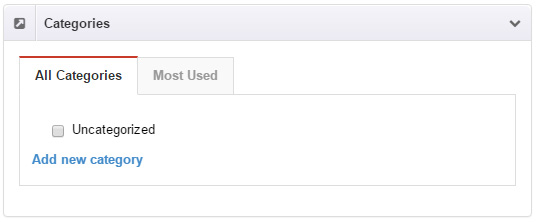
Switch between the All Categories and Most Used tabs and check the categories — multiple selection is supported.
You can create a category directly in the Add new category box without leaving the page.
Tags
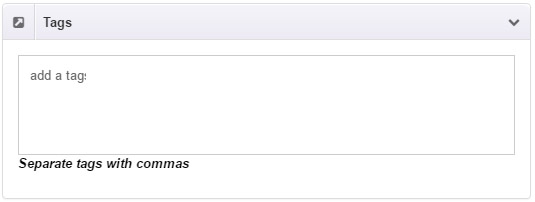
Type a tag and press Enter to confirm; enter multiple tags in sequence. The hint text notes that tags are comma-separated.
Featured Image
The featured image is the main picture of the event, shown in the event list, detail page and dashboard. Click the image area to choose a picture; the Remove Picture button clears the selection.
Gallery Image
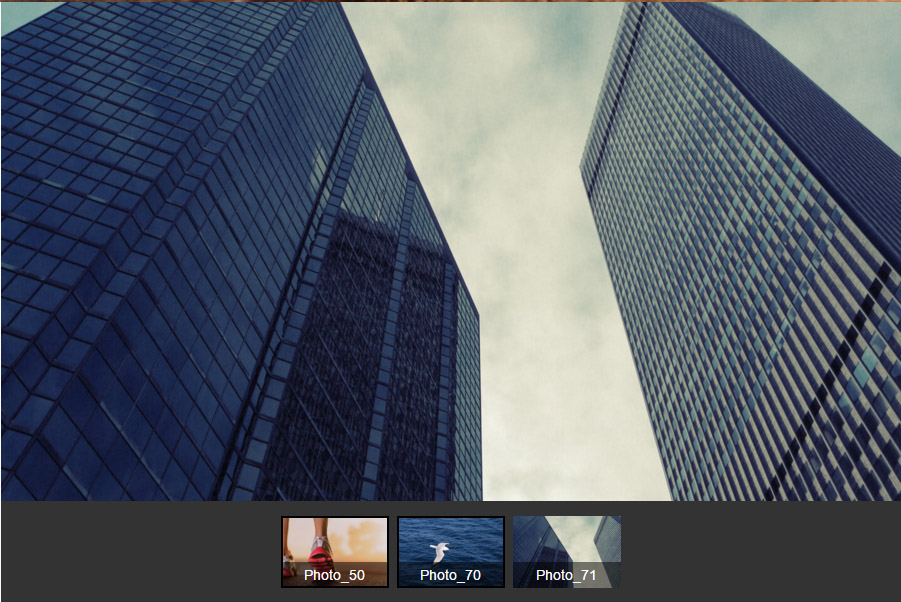
Click Set Gallery image to add multiple pictures; selected images appear as a sortable thumbnail list. Gallery images display as a slider on the event detail page.
Attachments List
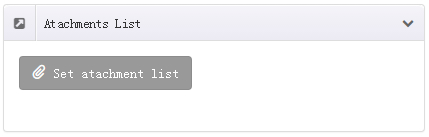
Click Set Attachment list to add attachments (PDF, TXT, etc.); selected files appear as a list. Visitors can download these files on the event detail page.
Permissions
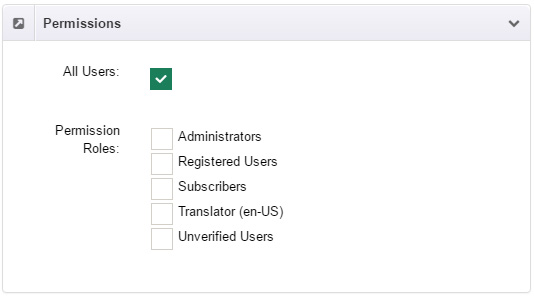
Controls who can view the event:
- All Users: check to make the event visible to everyone.
- Permission Roles: check the roles allowed to view (Administrators, Registered Users, custom site roles, etc.).
To restrict the event to specific roles only, uncheck All Users first, then check the desired roles.
Share
When the Share Settings are enabled, a Share panel appears in the event editor for publishing the event to the DNN social journal:
- Post to journal: whether to publish the event as a journal post.
- View: who can view the post.
- Groups: which social group to publish to.
Event Author
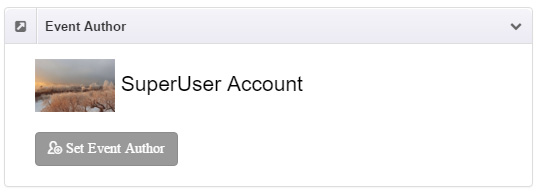
Shows the current author (e.g. SuperUser Account). Click Set Event Author to change the author, for example when an admin publishes on behalf of an author.